Building a Raspberry Pi console
Tue May 30 2017tags: programming build making programming education hardware raspberry pi public featured
Yesterday, Bailin and I finished the build of the Raspberry Pi console.
This Raspberry Pi console project is the culmination of more than half a year of effort. For the last eight months, I have been teaching the kids at Ulu Pandan Stars Python (specifically Python Turtle). After much hand-holding and patient instruction the kids were able to write the code for a Pong clone (mostly) all by themselves. (We wrote the code that read from the GPIO pins).
The kids don't understand all the concepts, however, which makes me think that the project is a little too ambitious. For example, they have no idea what the ADC does, how the wiring in the Raspberry Pi works and/or how the Raspi reads the hardware inputs. I don't see this as too big a deal, though, because even if they don't understand it, at least they know about it.
Nonetheless, the kids definitely do understand a lot of things: basic programming concepts (functions, loops, conditionals), Cartesian coordinates, event-based programming, and so on. We have also been training them to talk about what they have done (the girls lack the confidence to speak in a formal setting) but there's still a lot of work that still needs to be done.
Parts used
- 7-inch touchscreen LCD: 118 SGD
- Raspberry Pi 3: ~65 SGD
- Rheostats, 2: ~2 SGD each
- 60mm buttons, 2: 4.50 SGD each
- 45mm buttons, 2: 3.50 SGD each
- ADC, 3 (but we used only 1): ~7 SGD each
- Box file from Popular: ~5 SGD
- X-acto knife: 13 SGD
- Solder iron: given to me by Snoopy
Total cost: ~250 SGD
First draft
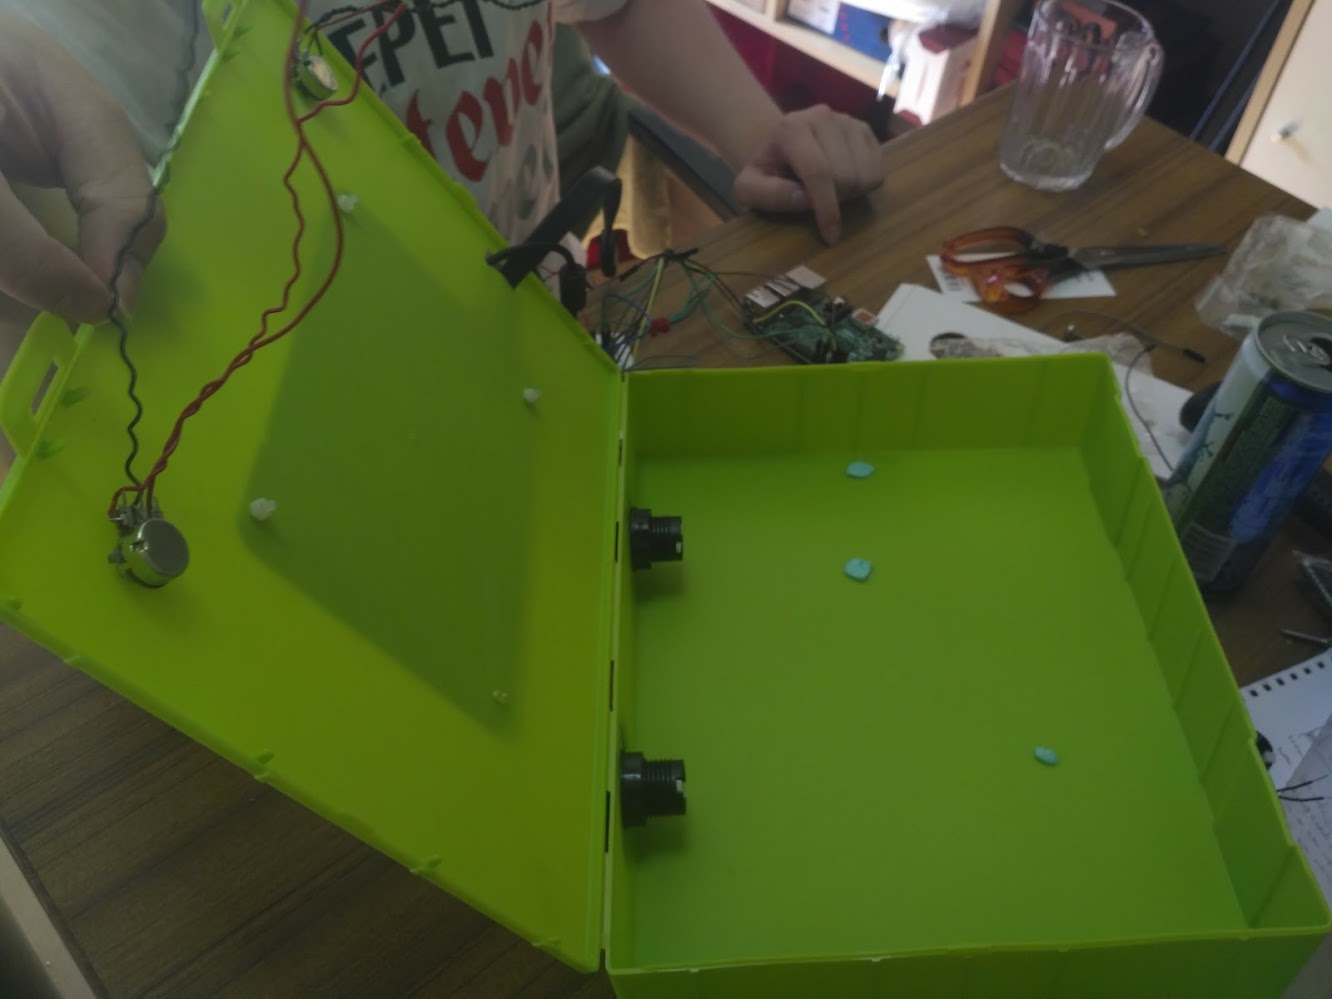
The project started as a 'shoebox console' but we found that a shoebox was way too flimsy. Here's what that looked like:
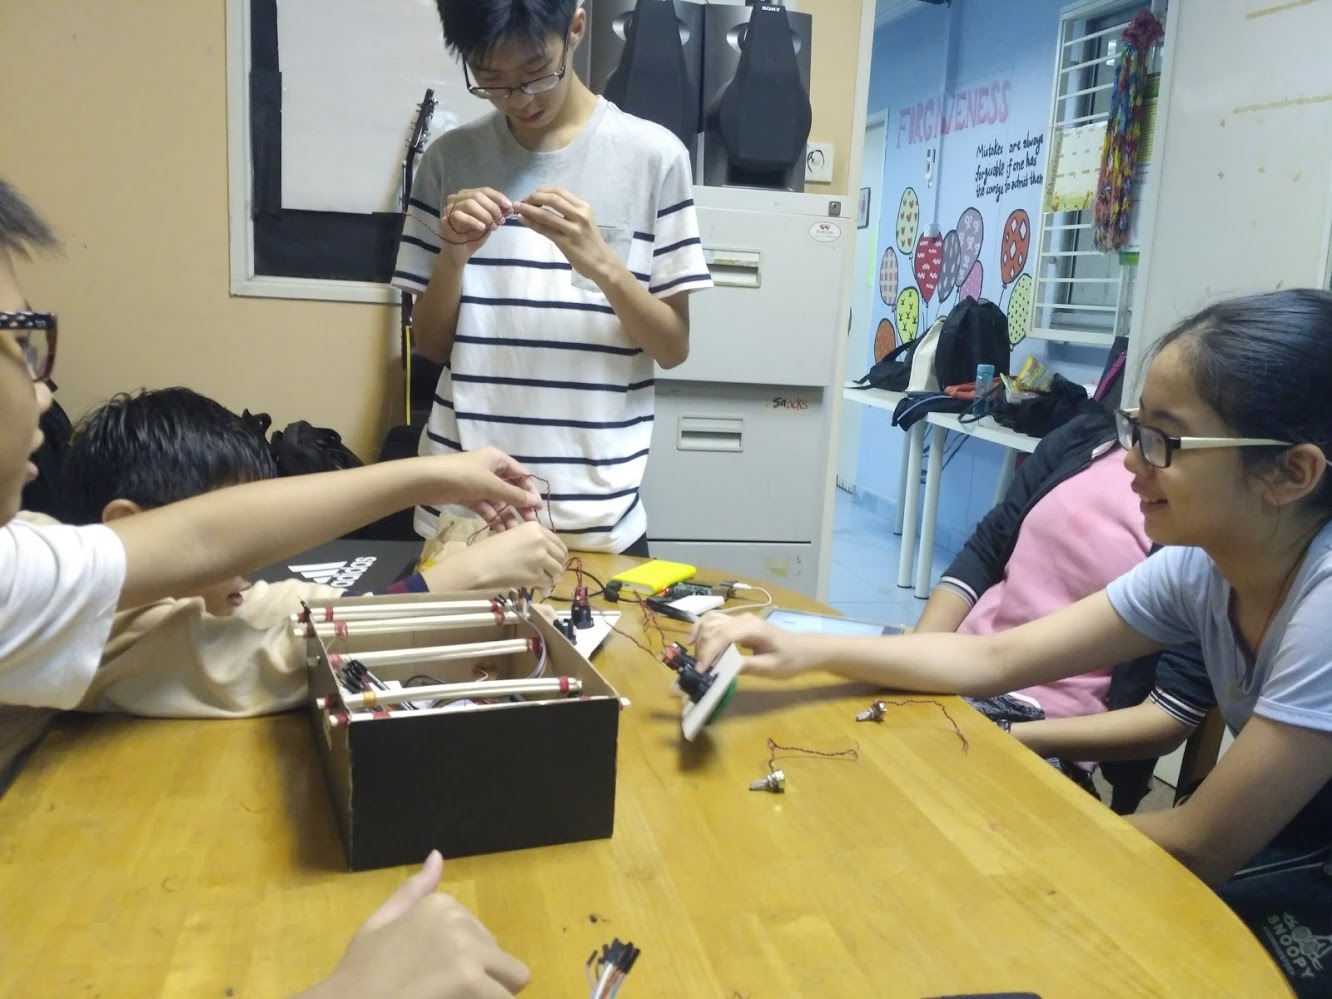 Zhengyang with the students
Video of me pressing the buttons
Zhengyang with the students
Video of me pressing the buttons
We used an X-acto knife to cut the holes in the box and had to solder wires onto the rheostats and the push buttons.
Improved version
Bailin was able to buy a box file from Popular for $5 so we used that instead.
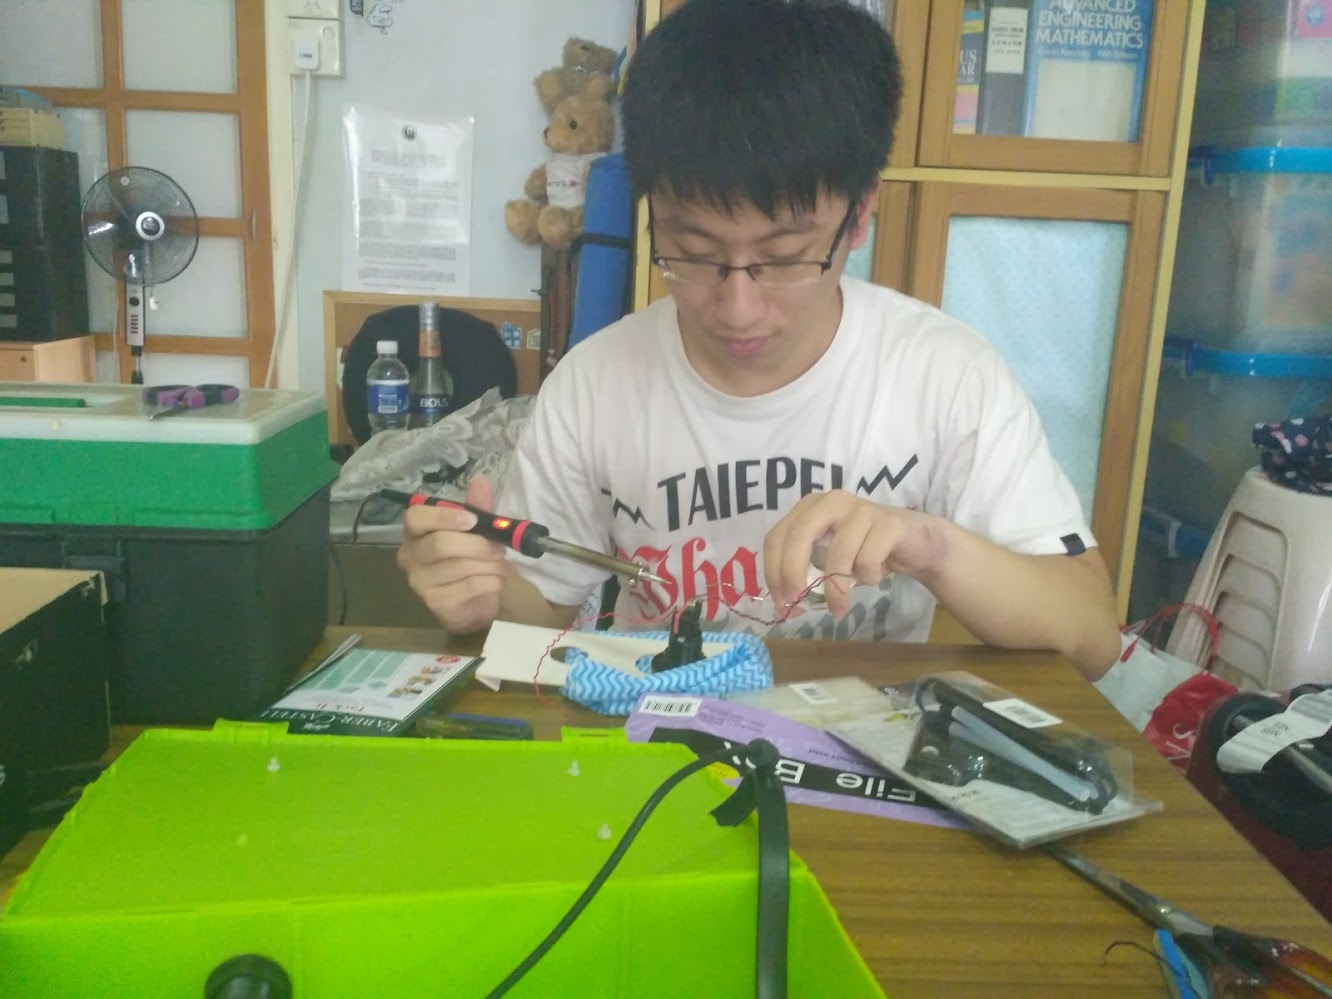 Bailin soldering the buttons. His hands were shaky so I took over for the more
delicate parts.
Bailin soldering the buttons. His hands were shaky so I took over for the more
delicate parts.
 The box before we put all the stuff inside it.
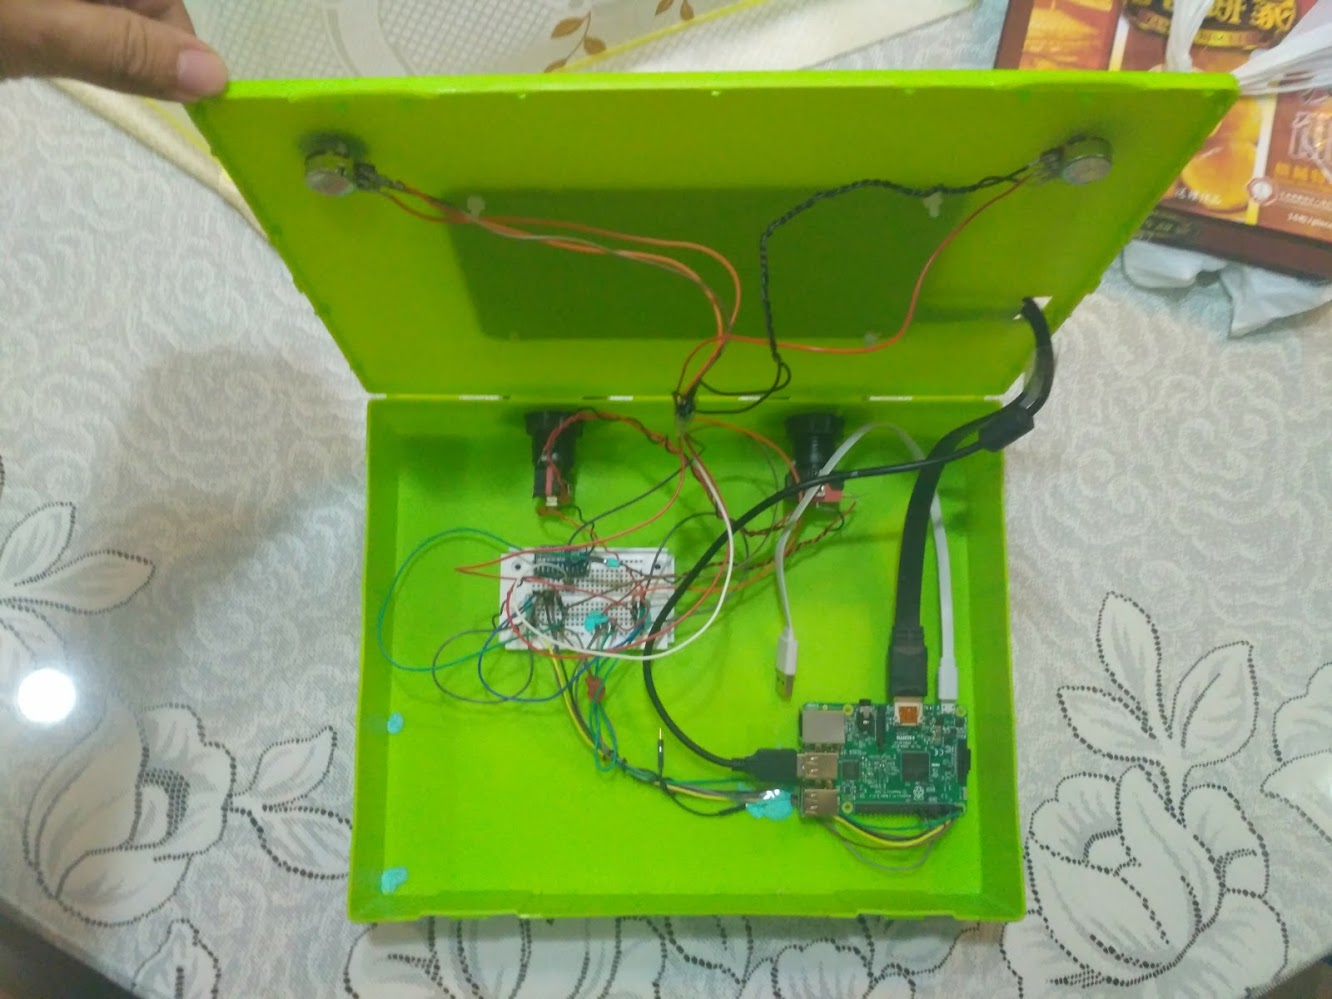 Closeup of the WIP console; power bank not pictured
Video tour of the console
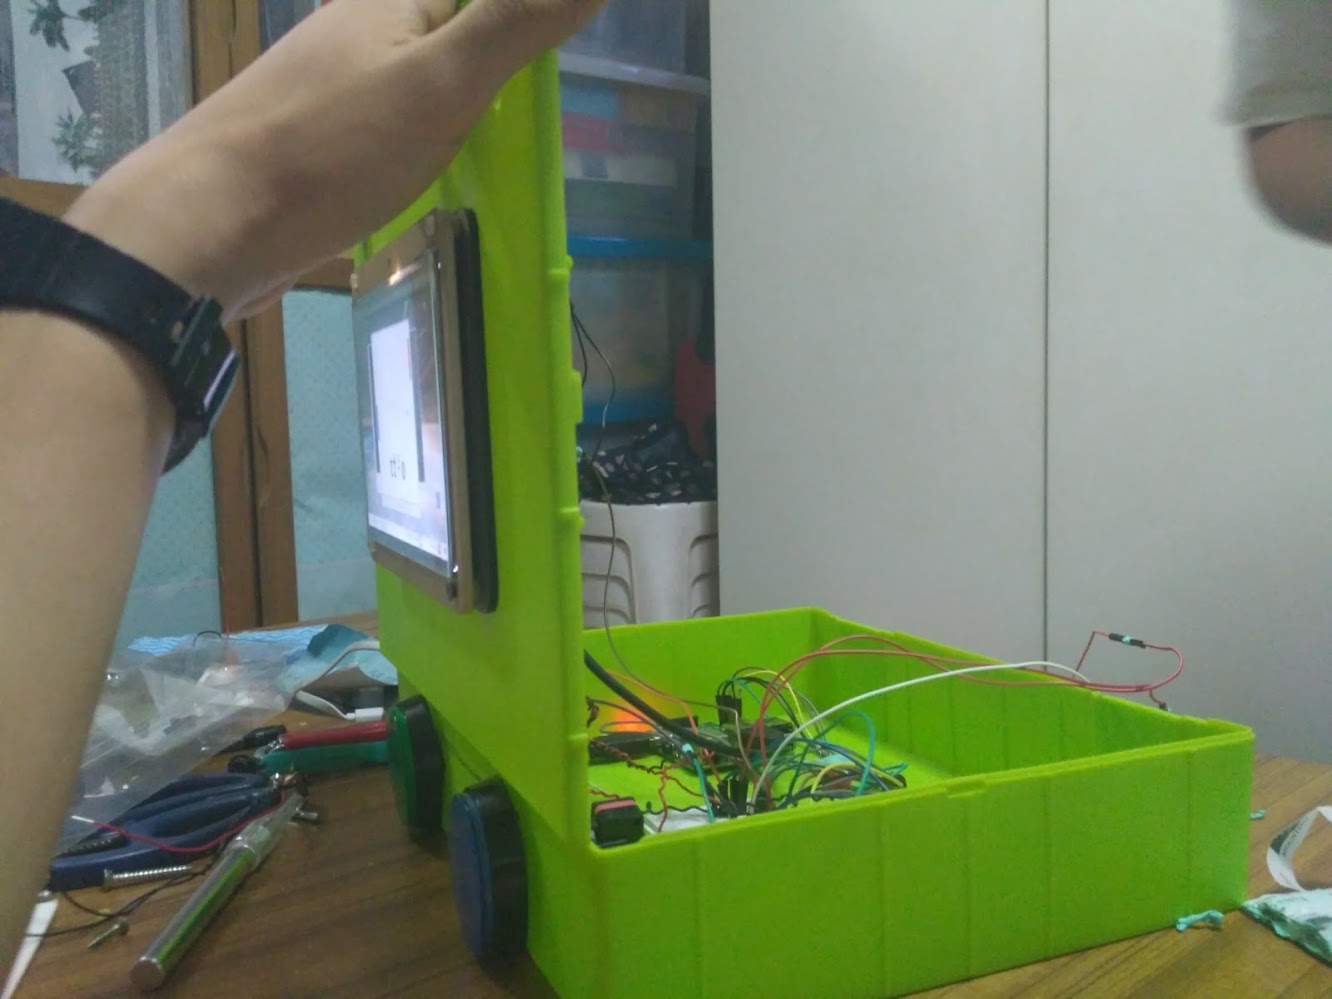 Side view
 Closeup of the console
My mom and my cousin playing with it: the game is buggy and I will get Audrey and Gillian to fix it.
Finishing up
Today I called for an extra lesson where I got the kids to mount the final two buttons so they could claim to have done at least some of it themselves (instead of having the tutors do all the work). Here's what the final version looks like now:
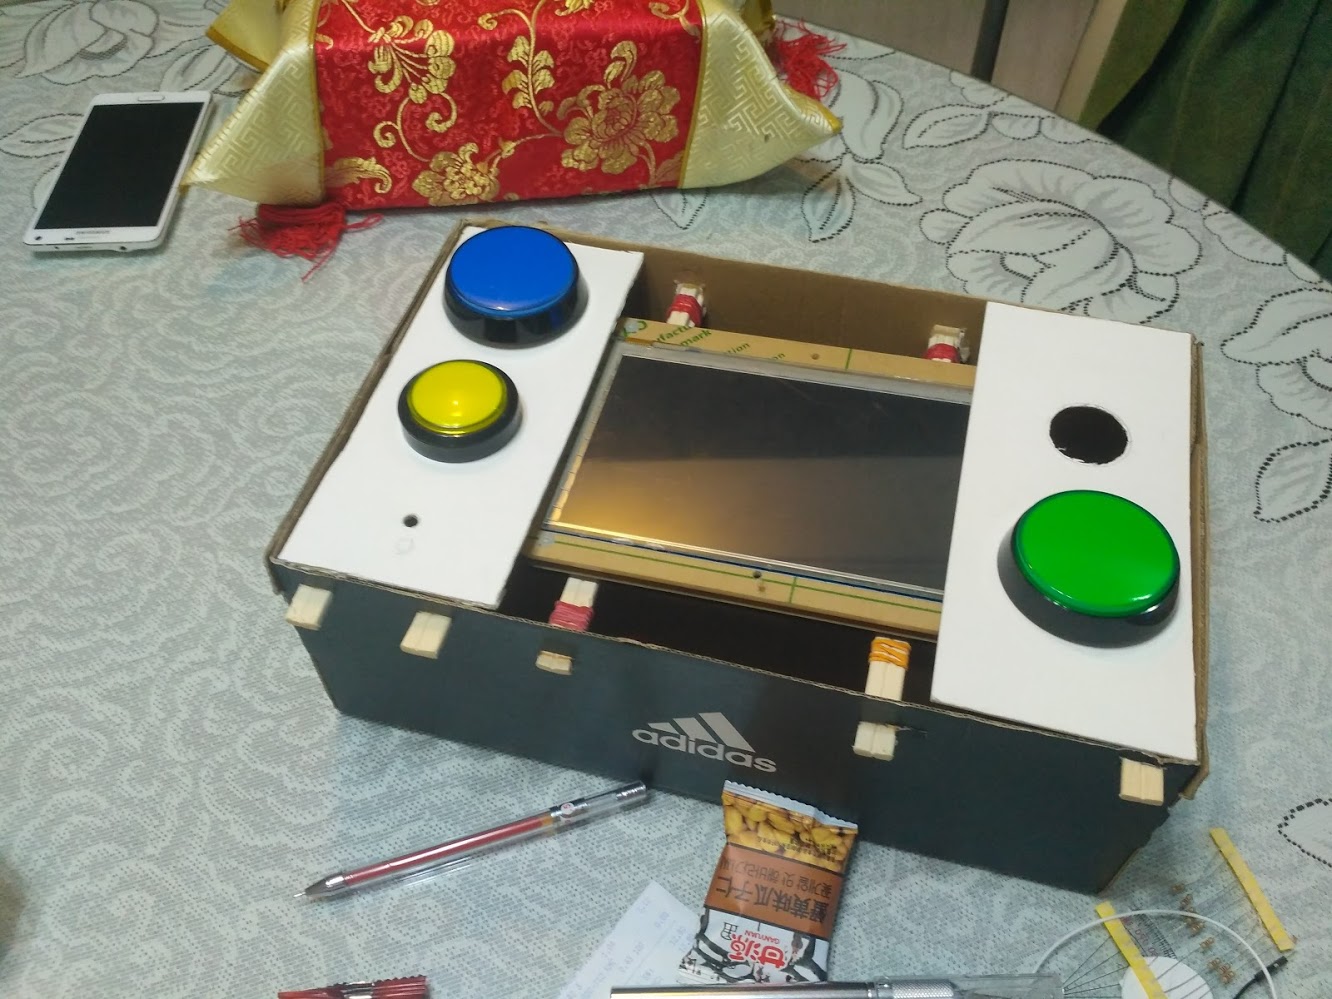
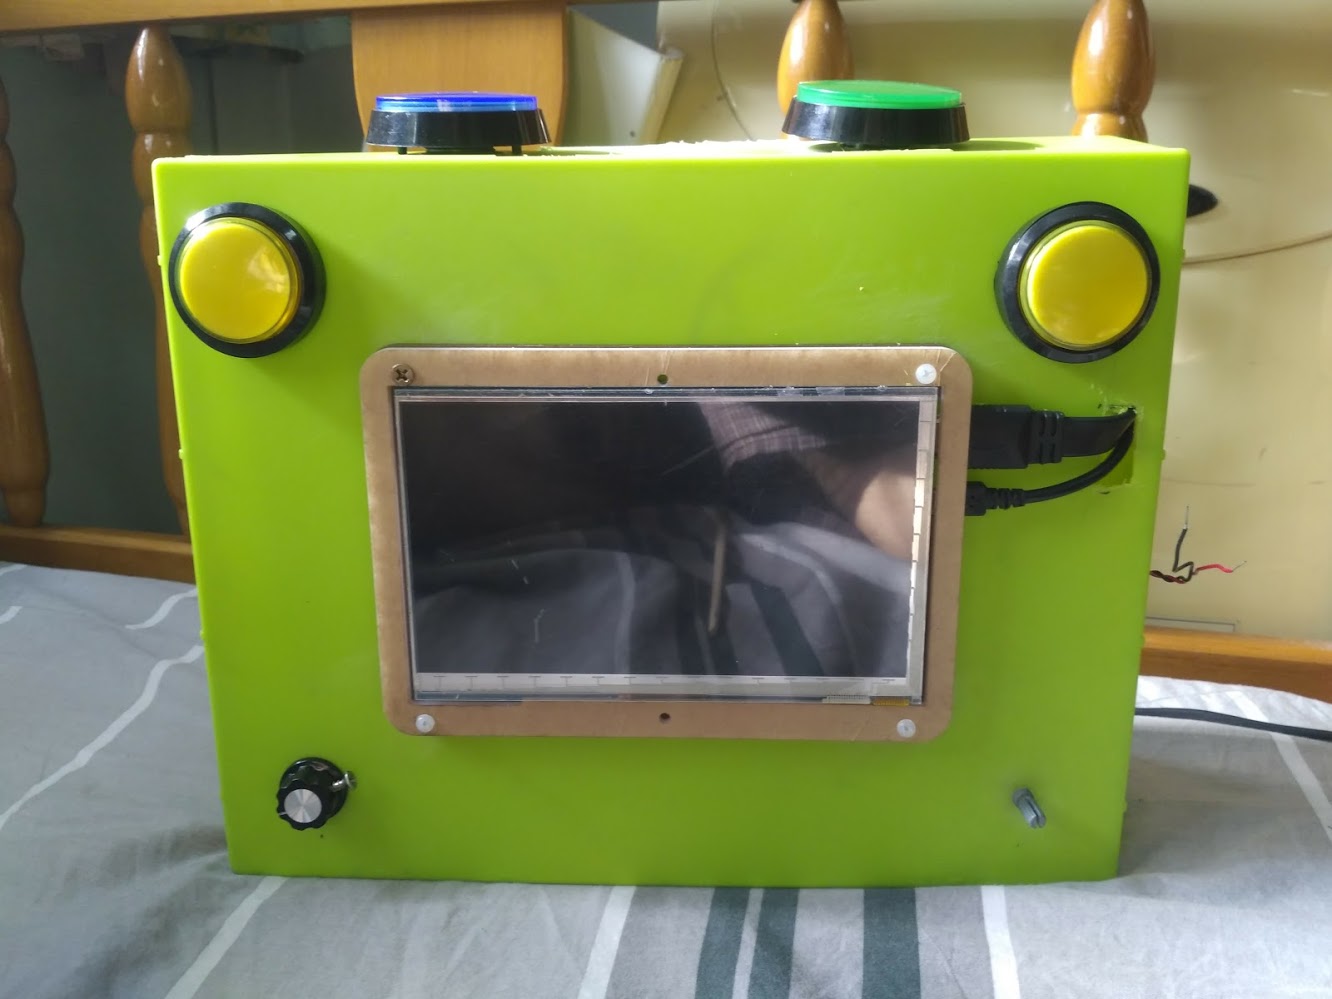 Front view
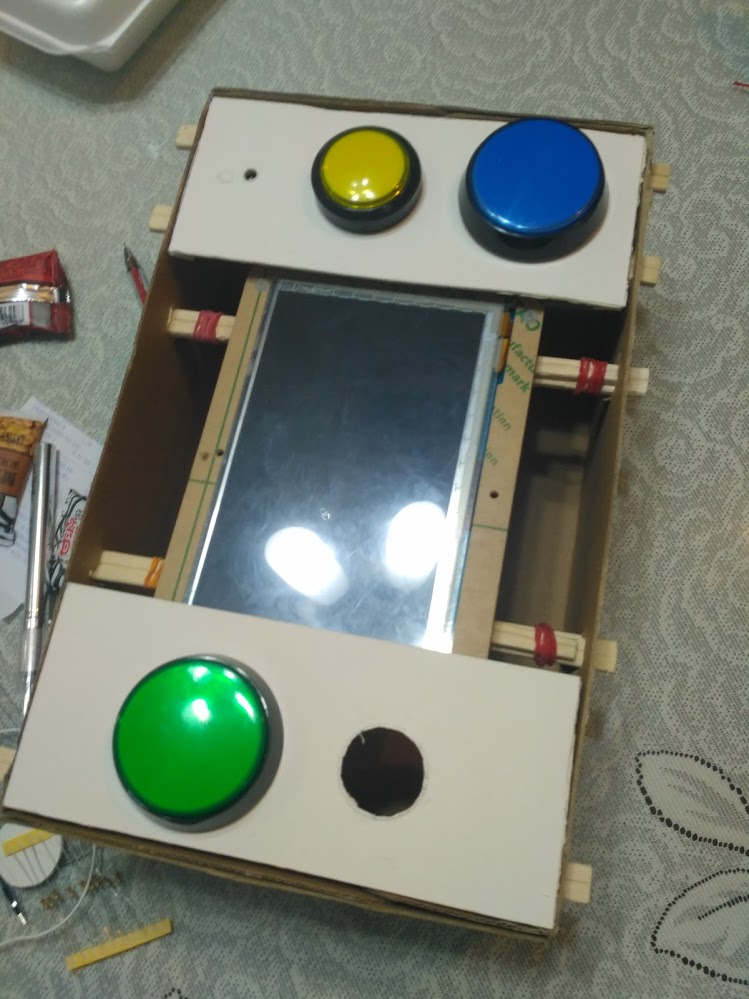
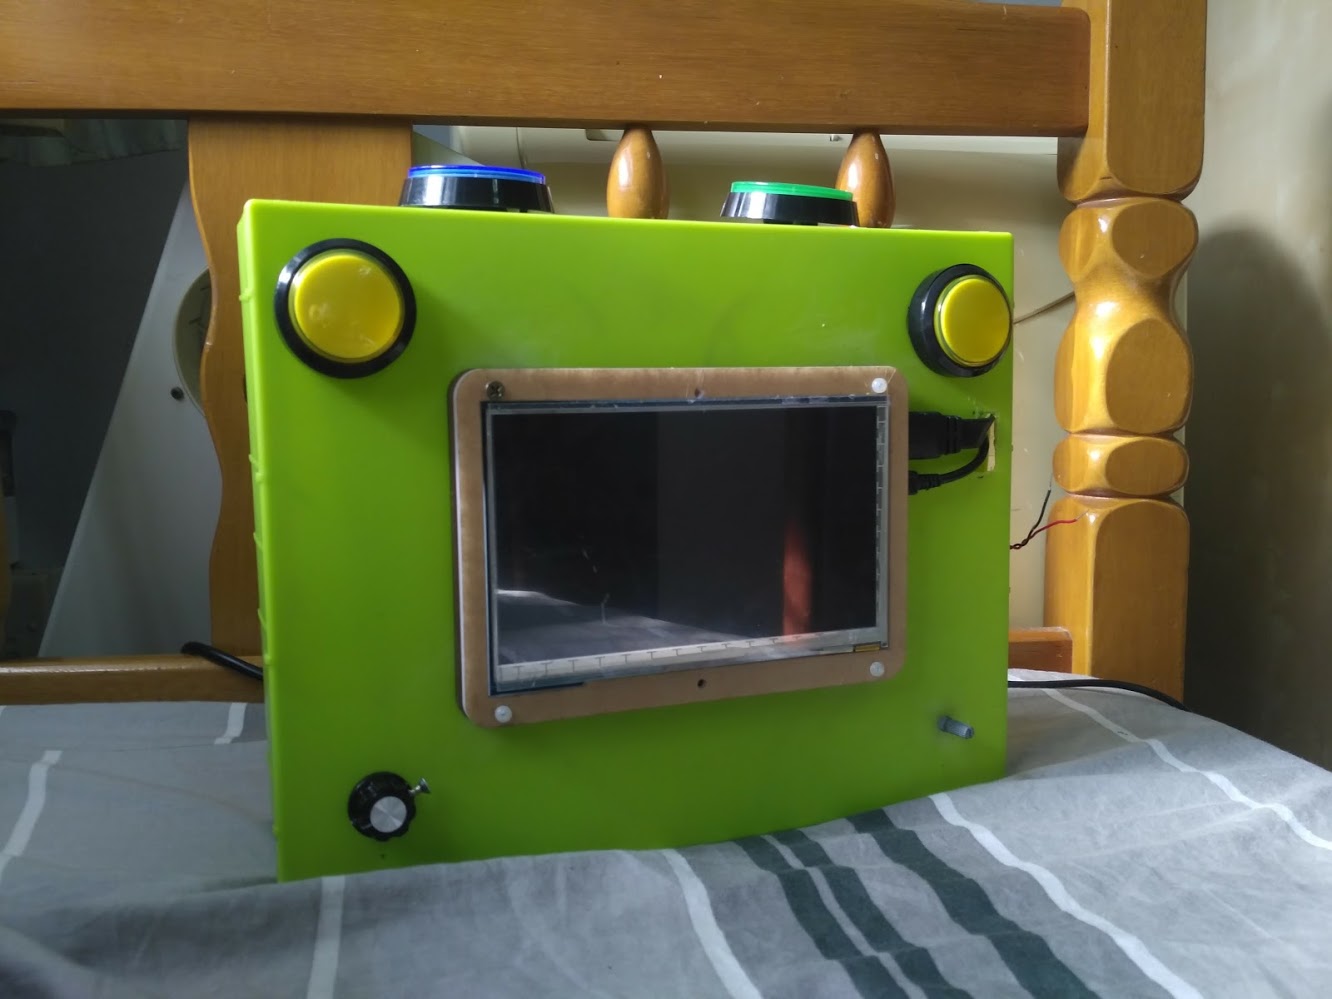 3/4-view. I think it kind of looks like a
face!
3/4-view. I think it kind of looks like a
face!
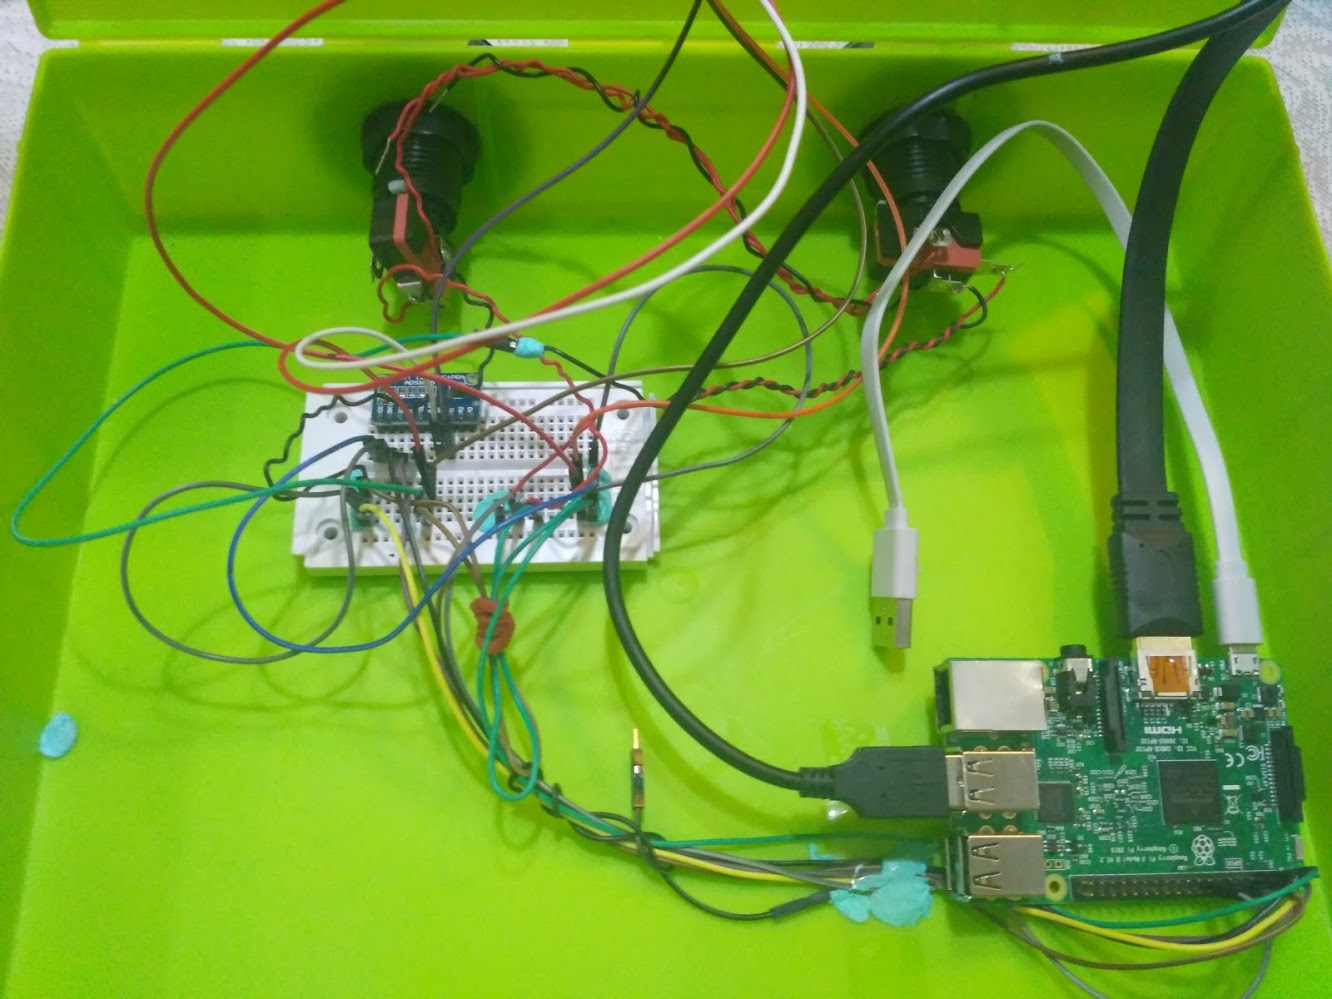
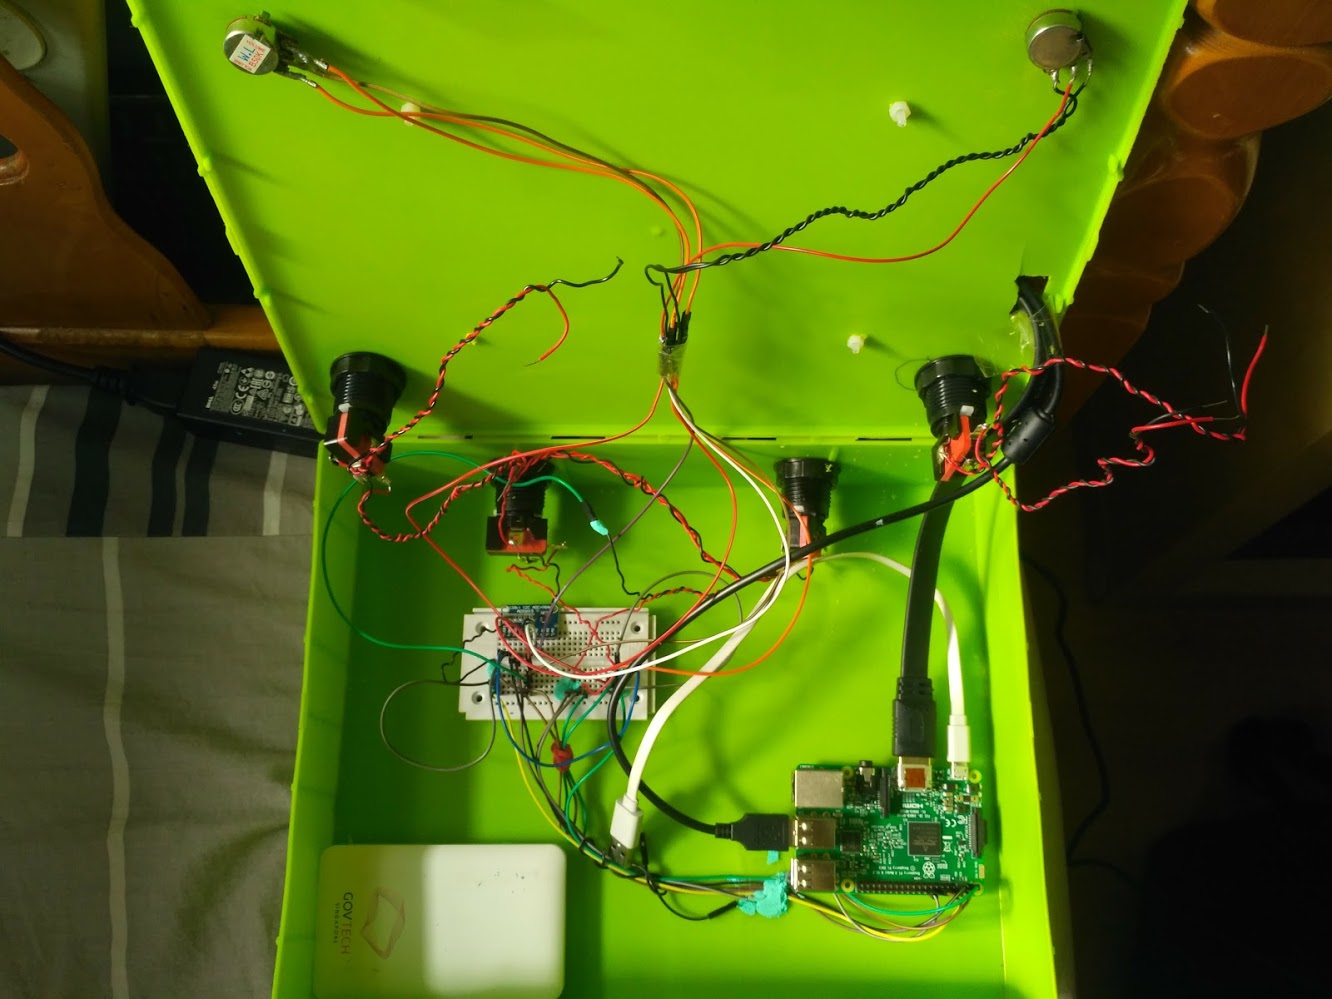 Closeup of the console
Actually I still don't know how the thing is wired because Zheng Yang did the lion's share of the work in wiring. I'll have to learn from Bailin how everything is wired.
This was my first time working with a Raspberry Pi as well as hardware components like rheostats and buttons: my previous projects were all software-only. I'm very grateful to Zheng Yang and Bailin for helping so much (it literally could not have been done without Zheng Yang).
The kids will finish their DSA exercise in August. Whether or not they get into DSA is out of my control but I hope that they will have the confidence and motivation to pursue similar projects in the future. STEM is the future, after all...
What's next
The kids should patch their games and do some bug-fixing.
I'd like to build a few 'demonstration games' on the console that make good use of the two rheostats (an interesting input medium).
It's my hope that this console can be used as a springboard for future programming lessons.